Appearance
Phengos — Files & Output
How to give the model context files, and how Phengos turns the model's response back into files on disk.
Two kinds of context files
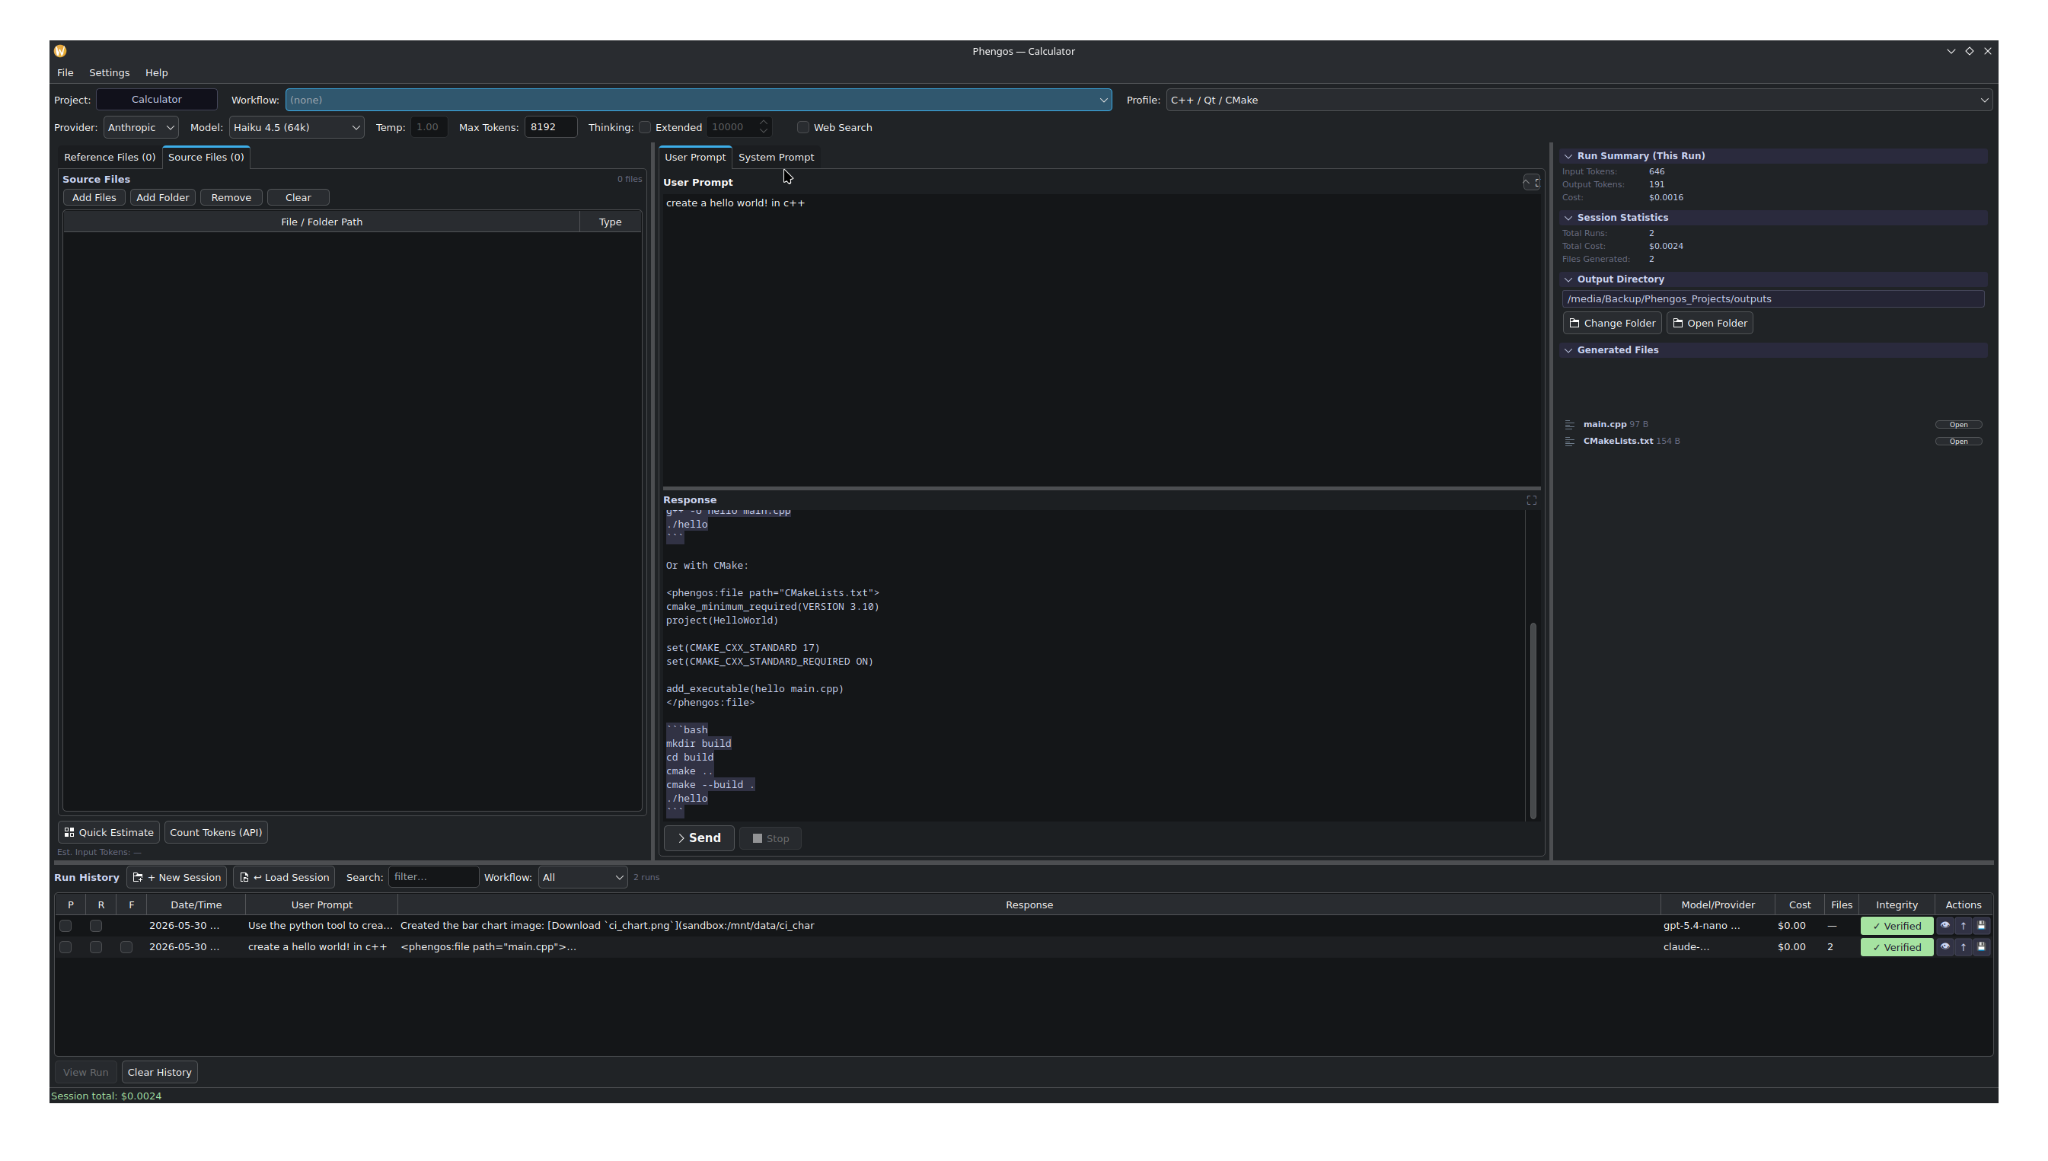
Phengos lets you attach files to a prompt as context, organized into two tabs:
Use Reference Files for supporting context and Source Files for the material you want the model to work on.
- Reference files — supporting material the model should read but not necessarily modify (specs, docs, examples).
- Source files — the code or content that is the actual target of the work.
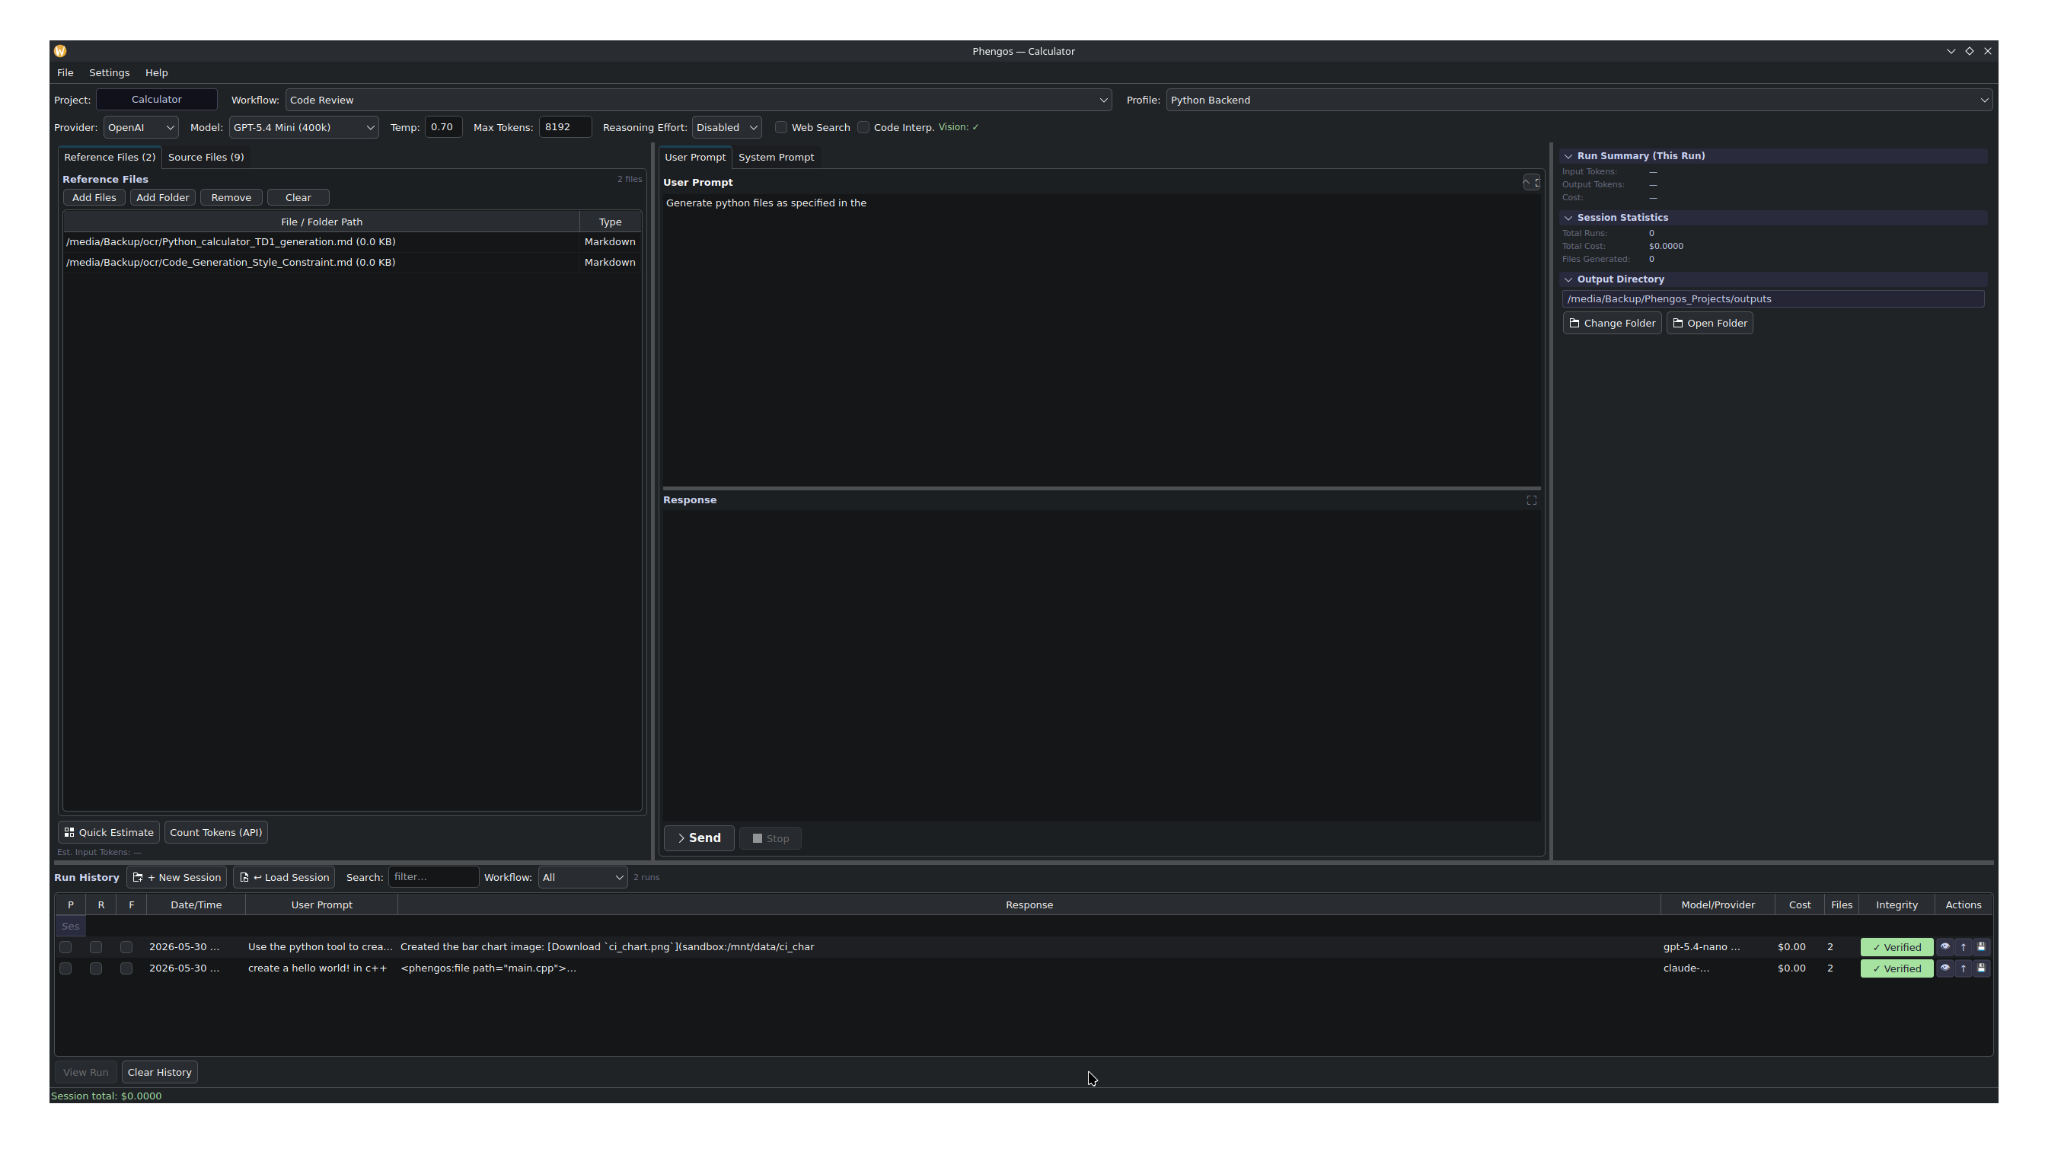
Reference files are useful for requirements, style rules, architecture notes, and other supporting documents.
Source files can include the actual material you want the model to transform, summarize, convert, or regenerate.
The distinction is for your own organization and for how the content is framed to the model. Both are included in the prompt and counted in token estimates.
Community edition allows up to 5 reference files and 5 source files per run; Full edition is unlimited (see Editions).
Adding files
- Add Files — pick individual files.
- Add Folder — add a whole folder at once.
- Drag and drop — drop files or folders directly onto the panel (desktop).
- Remove / Clear — remove selected entries or empty the list.
Android note: file attachment on Android depends on the platform storage layer. The file panel is present; folder/file picking uses the Android document picker as that capability is enabled.
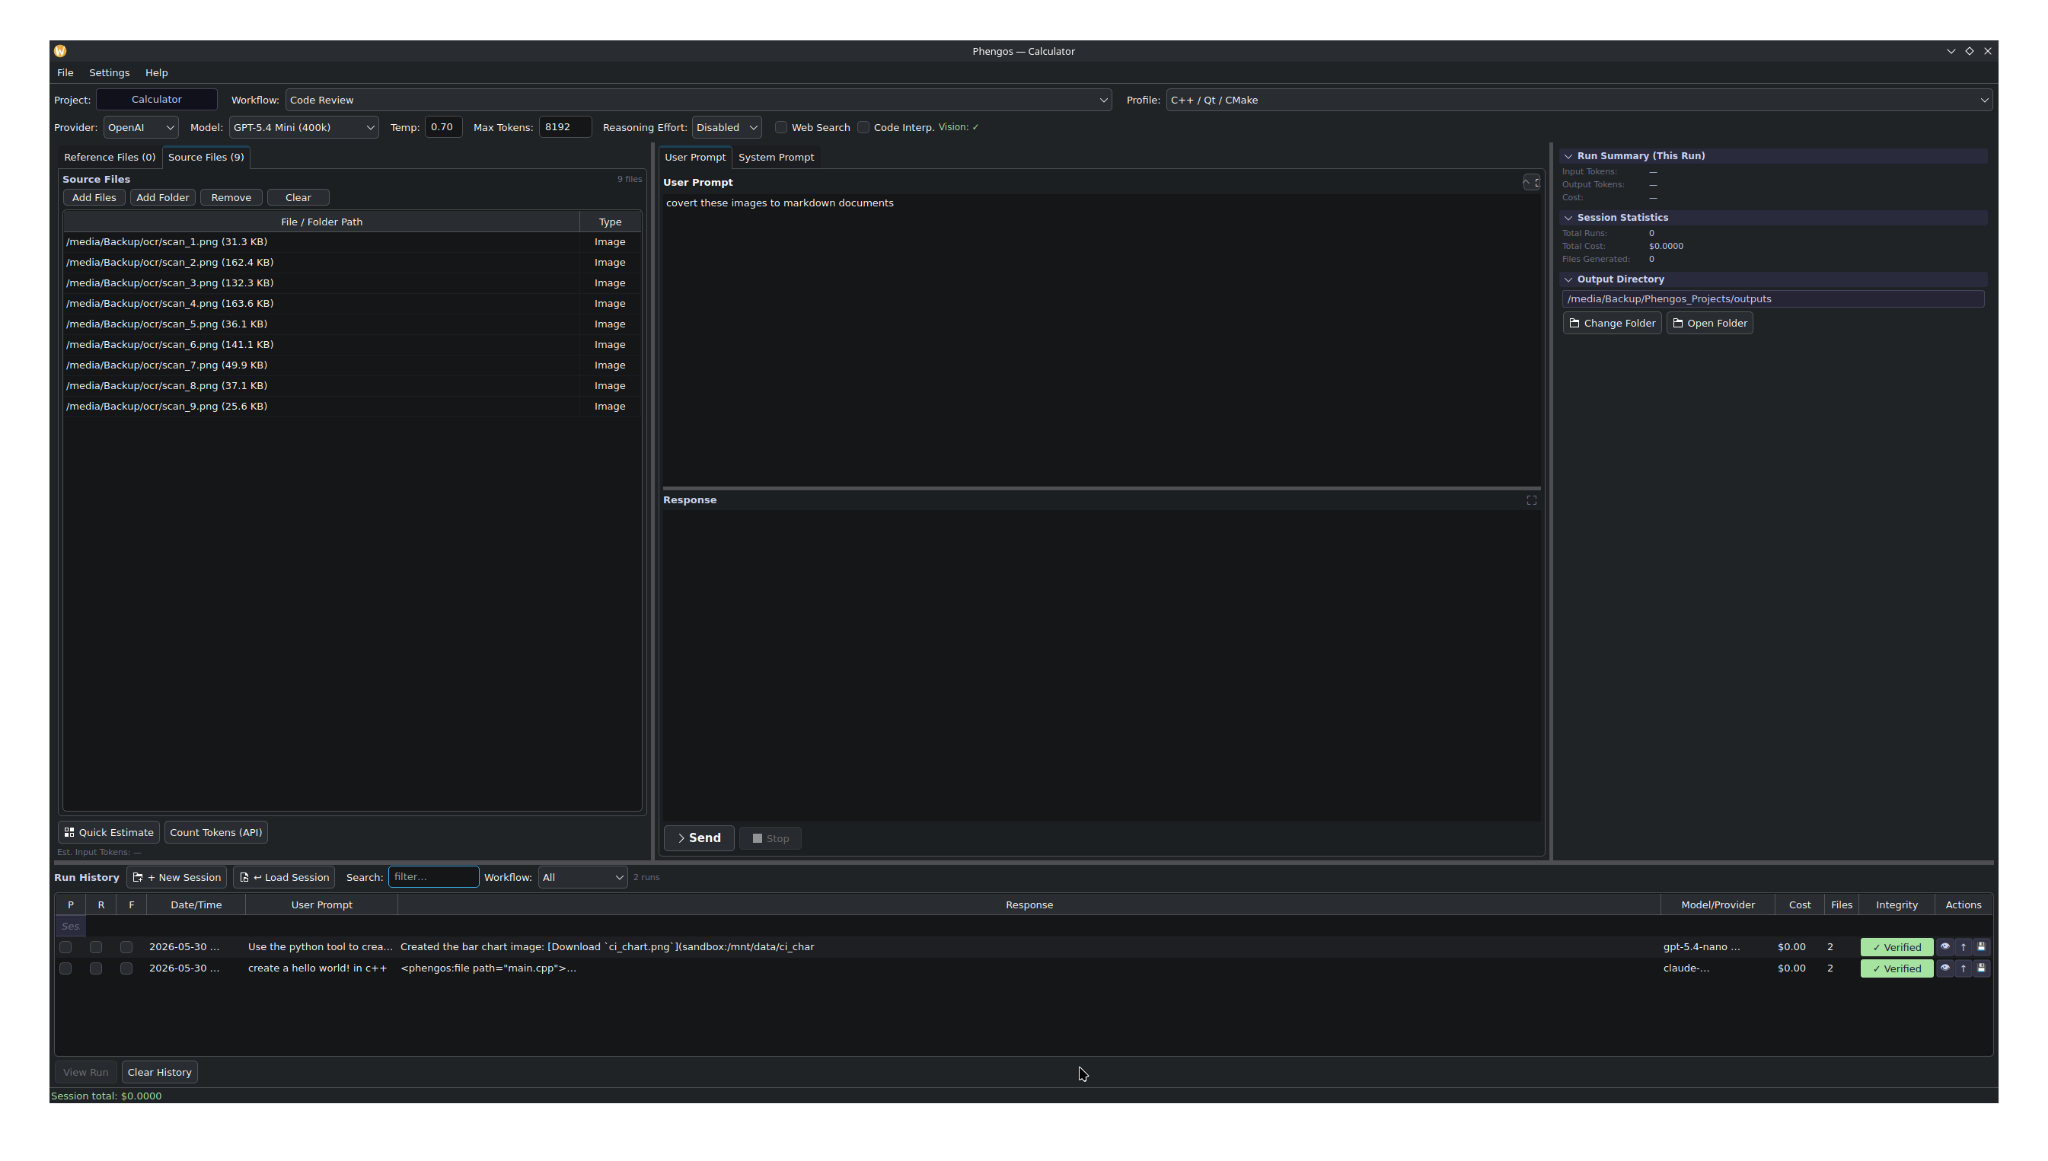
Folder filtering
Whenever you add a folder (via the button or by dropping it), Phengos shows a Folder Filter dialog so a big folder doesn't pull in everything:
- Extensions — choose which file extensions to include. Leave empty to add all files.
- Recurse into subfolders — include nested folders or just the top level.
Your last-used filter settings are remembered within the session, so repeated adds are quick.
How generated files come back
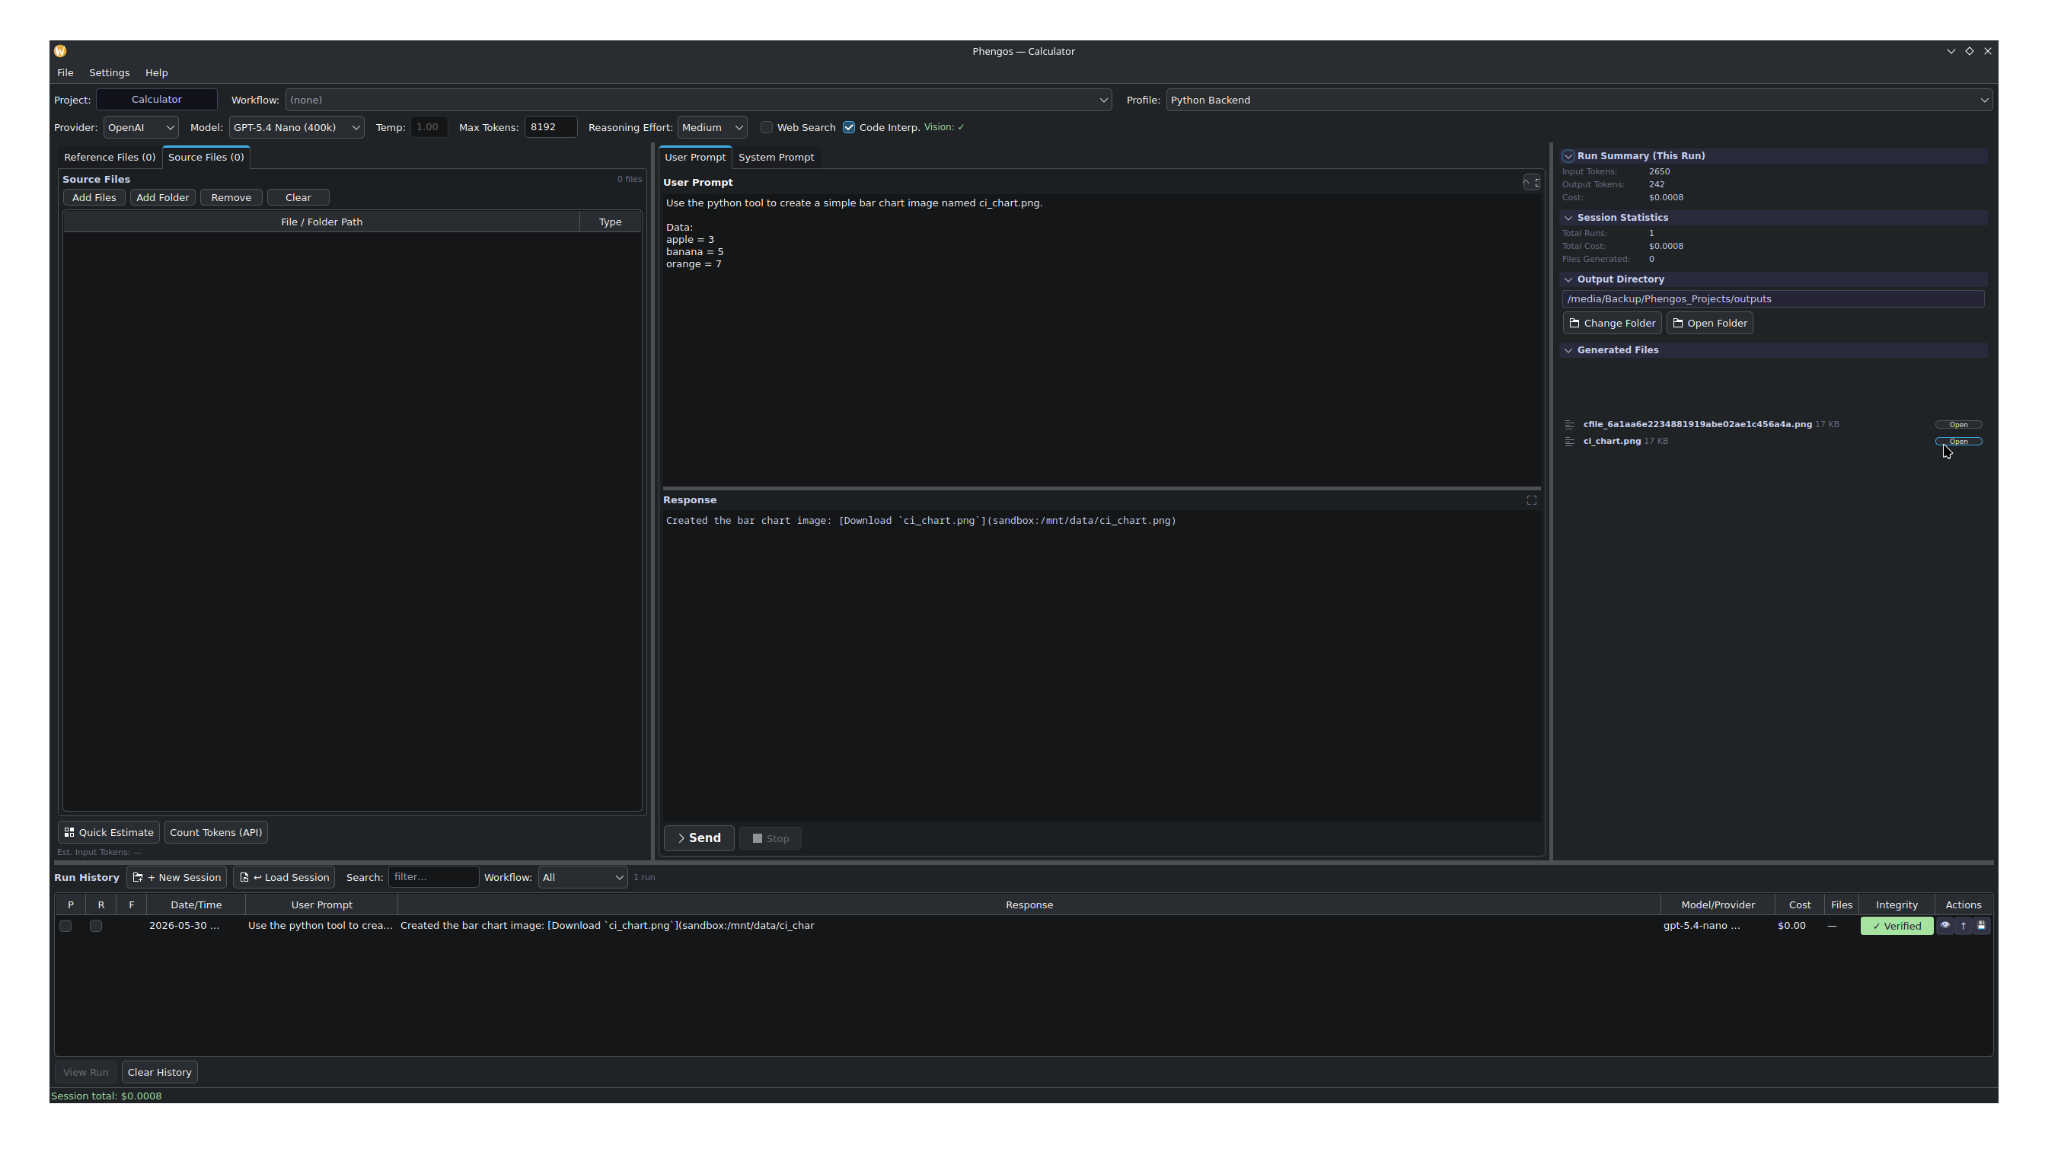
Generated files appear in the run summary/output panel so you can open them from the project.
When you ask a model to produce files, Phengos instructs it (via the automatic parser- format layer of the system prompt) to wrap each file in a tag that includes its relative path. After the response arrives, Phengos's output parser can extract those files and write them to your project's output directory, recreating the relative paths (for example src/ui/MainWindow.cpp).
- Relative paths are preserved, so a multi-file response rebuilds the intended folder structure under your output directory.
- Binary formats are detected and handled safely. Text files are written and counted; if binary content was present, Phengos reports a warning rather than writing potentially corrupt data.
- The number of files saved is recorded with the run.
Previewing before saving (Full edition)
In the Full edition, a File Save Preview lets you review the parsed files before committing them to disk:
The preview lets you inspect generated files and decide what should be written to disk.
- See the list of files the response would produce.
- Save Selected — write only the files you tick.
- Save All — write everything.
This is useful when a response includes more files than you want, or when you want to inspect what will be written before it touches your project.
Output directory
Each project has an output directory where generated files are written. You can see it and change it from the run summary / output area, and open it in your file manager directly. See Projects, Sessions & History and Data Locations.